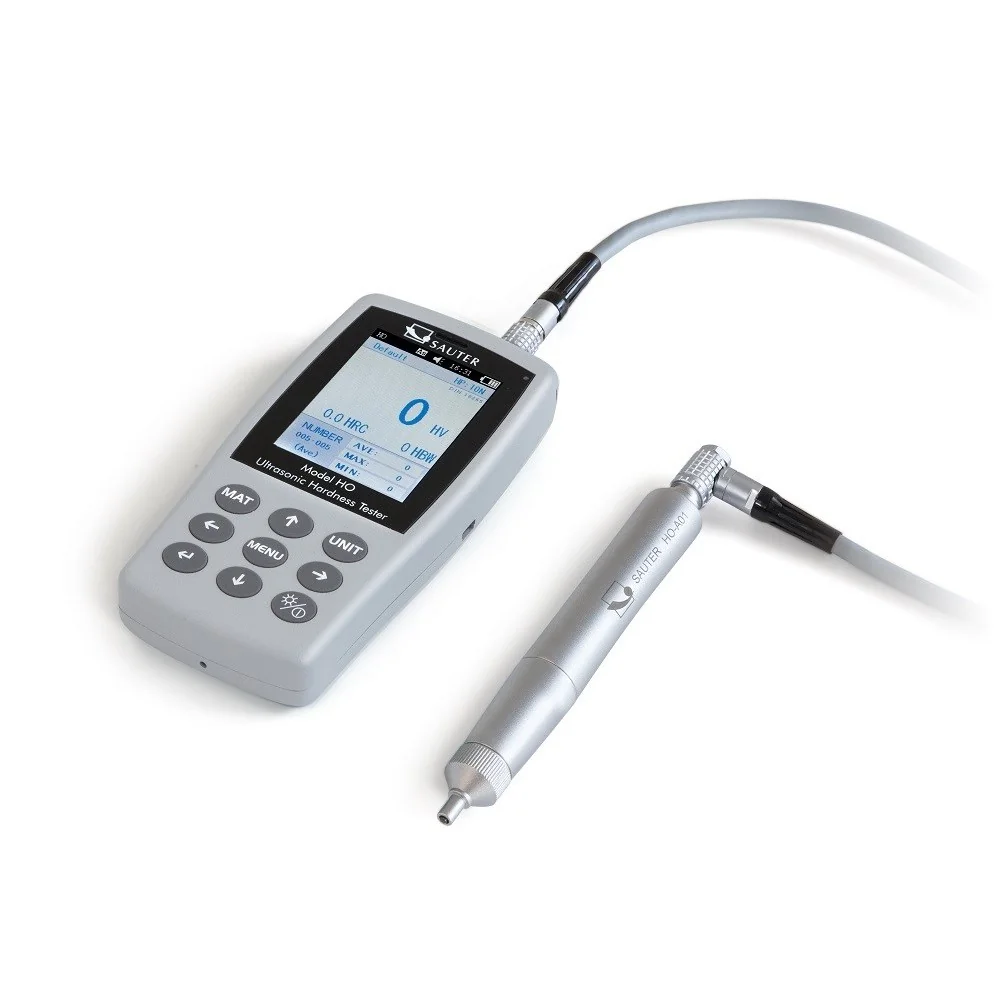
SAUTER HO 5K Premium UCI hardness testing device
SAUTER HO 2K Premium UCI hardness testing device
for Rockwell, Brinell and Vickers
- Application: This ultrasound hardness testing device is ideally suited for mobile hardness testing, where the main emphasis is on obtaining rapid and precise results
- Principle: The SAUTER HO measures using a Vickers diamond tip, which is pressed into the test piece with a defined force. After that the tip is moved into high-frequency ultrasound vibrations. The hardness is derived from the attenuation
- Examples: The HO ultrasound hardness testing system is primarily used for measuring small forgings, castings, welding points, punched parts, casting tools, ball bearings and the flanks of gear wheels as well as for measuring the influence of warmth or heat
- Advantages compared with Rockwell and Brinell: Less test force and therefore only microscopic, small penetrations means that the testing is less destructive
- Advantages compared with Vickers: Demanding optical measuring is not required. You can therefore carry out measurements directly on-site, for example, on a permanently installed workpiece
- Advantages compared with Leeb: The high requirements for the weight of the test object are no longer required, in most cases
- Standards: The device fulfils these technical standards: DIN 50159-1-2008; ASTMA1038-2005; JB/T9377-2013
- Mini statistics function: Display of the measuring result, the number of measurements, the maximum and minimum value as well as the average value and the standard deviation
- Measurement data memory saves up to 1000 measurement groups each with 20 individual values
- Calibration: The device can be set to both standard hardness test blocks and also to up to 20 reference calibration values. When doing this it is possible to measure different materials quickly, without having to re-adjust the device to the individual materials
Technical data
- Measuring ranges: HRC: 20,3–68; HRB: 41–100; HRA: 61-85,6; HV: 80–1599; HB: 76–618; Tensile strength: 255–2180 N/mm2
- Measuring precision: ± 3 HV; ± 1,5 HR; ± 3 % HB
- Measuring time: adjustable from 1-5 sec.
- Display units: HRC, HV, HBS, HBW, HK, HRA, HRD, HR15N, HR30N, HR45N, HS, HRF, HR15T, HR30T, HR45T, HRB.
- Rechargeable battery integrated, standard, operating time up to 12 h without backlight, charging time approx. 8 h
- Minimum weight of the test object: 300 g for direct measurement with the sensor (included); 100 g with support ring (optional)
- Minimum thickness of the test object: 2 mm
- Minimum dimensions the test surface size around: approx. 5×5 mm (recommended)
- Overall dimensions W×D×H 160×83×28 mm
- Permissible ambient temperature -10 °C/40 °C
- Net weight approx. 0,93 kg
Scope of supplies:
- Display unit
- UCI sensor unit
- transport case
- software to transfer the saved data to the PC
- accessories
Hurry! only 9 items left in stock. Specific References
- EAN13
- 4045761200661
Shipping costs are calculated according to the size, weight and delivery address of the package.
Put the desired items in the shopping cart, enter the delivery address and you can see the different shipping methods and shipping costs
Shipping & Packaging Information
We are committed to ensuring that your order reaches you promptly and safely. We offer various shipping options to suit different needs and timelines. Please review our options below to select the one that best fits your requirements.
Shipping Options
1. Economy Shipping
2. Standard Shipping
3. Express Shipping
4. Pallet Shipping (Freight Forwarder)
5. Shipping with Your Own Customer Account
16 other products in the same category:
€621.00 Regular price €690.00
€184.50 Regular price €205.00
€184.50 Regular price €205.00
€184.50 Regular price €205.00
€1,062.00 Regular price €1,180.00
€4,968.00 Regular price €5,520.00
€477.00 Regular price €530.00
€1,278.00 Regular price €1,420.00
€333.00 Regular price €370.00
€319.50 Regular price €355.00
€4,968.00 Regular price €5,520.00
€1,818.00 Regular price €2,020.00
€837.00 Regular price €930.00
€450.00 Regular price €500.00
€108.00 Regular price €120.00
€4,968.00 Regular price €5,520.00

